Making my own Maternity dress with a self drafted pattern

Choosing a Fabric
As soon as I saw this amazing Mind the Maker dot fabric at Minerva I fell in love. Even better it is sustainable organic Ecovero viscose, so much better for the environment than regular viscose. Ecovero is similar Tencel fabric is made on a closed loop during the production process. What does that mean? The amount of waste and chemicals released into the environment during production is minimal and harmless. Also, its fibres are produced using pulp, which is derived from the renewable resource wood as raw material.
After looking at all the colourways of the Mind the Maker fabric I just couldn’t choose. Which is why I decided to use two to make a really fun multi spot dress. This dress came at a really exciting time for me, I’m pregnant! Which poses its own sewing challenges!
Maternity Sewing
I’ve decided that my new makes will be good for pregnancy so I can grow with the garment. But also it can be wearable after I’ve given birth – The perfect garment for this is the trusty tent dress! I’ve made a number of tent dresses in the past. You can see my previous makes The Wilder Gown and The Demeter dress.

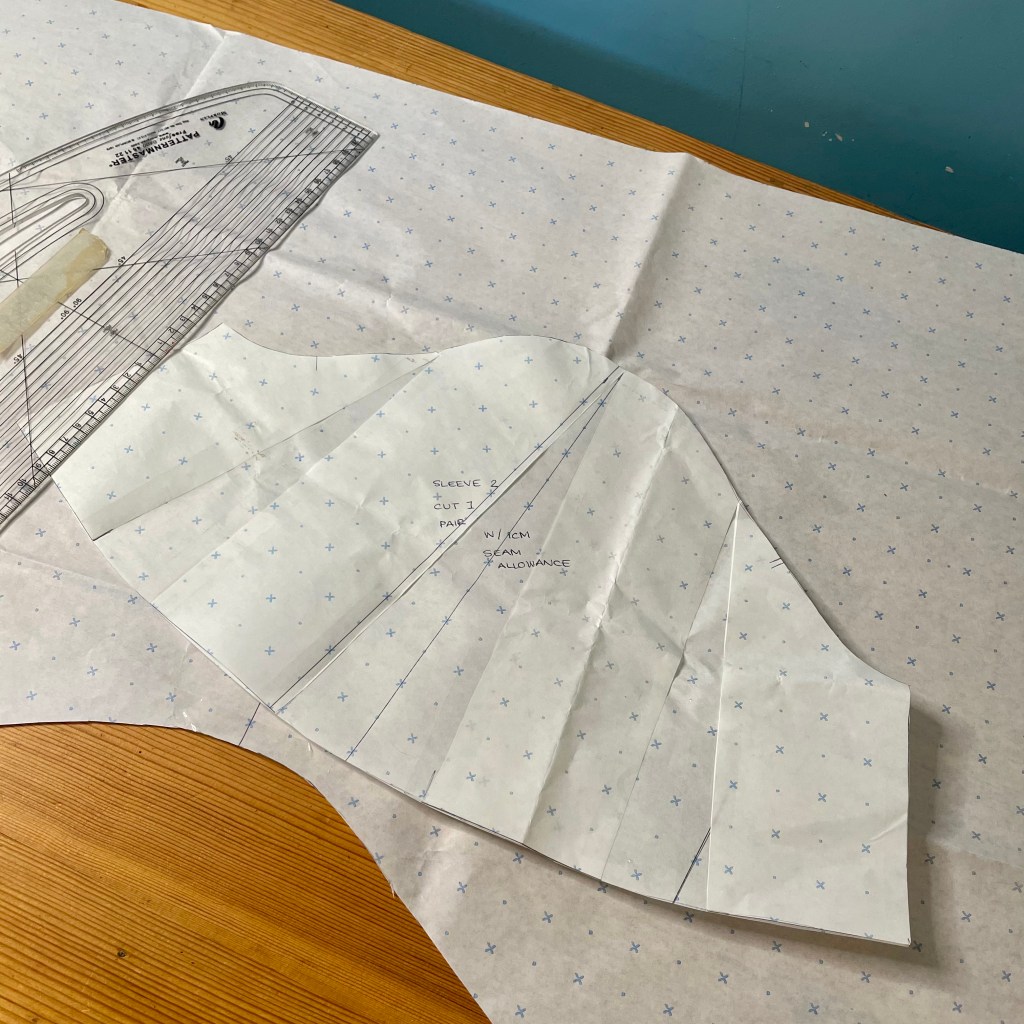
I havent done any maternity sewing before but I drafted this pattern myself. The plan for this year was to sort out some proper pattern blocks for myself, so I could easily draft patterns. But with my ever-changing pregnancy body this isn’t something I can do right now. So, I just drafted this using my current measurements and also measuring some of my dresses to find the right amount of ease. I drafted two different sleeves and asked my Instagram followers to help me choose. One was small and neat and the other more flowy, I knew the flowy one would look great in the Viscose fabric because of its lovely drape.

I wanted a simple square neck shape and so drafted that. During the fitting I realised that as it gaped a bit it needed tweaking. I added a small tuck to the centre front on my toile, but liked it so much I kept it as a design feature in my final design.
For the bodice I fully lined it in the contrast spot fabric. The skirt tiers were just simple gathered panels. When making tiers like this, I like to use the complete width of the fabric for the first one – so I can get the most from the fabric. For the second tier I added another half a length to add fullness.

For the gathering I like to set my stitch to the biggest stitch length so it is easier to pull. I then stitch two lines of stitches one at 0.5cm and another at 1.5cm. When pulled this creates a neater gather and means. You can sew your 1cm seam allowance in between your gather stiches and it creates a neat even gather.
After both the tiers are attached, I finished off my hemming the skirt and sleeves and now I have my perfect maternity tent dress.

Would I make this again?
For my first try at maternity sewing I am very pleased with the results. I’d make this pattern again, but maybe take a bit of bulk out of the back of the dress. It’s extremely oversized – but I guess I’ll need it with my growing body. I’ve been styling my tent dresses with a simple jumper over the top, and tied in a knot above my bump. It means I can wear a more summery style all year round and makes the dress much more versatile.

Thanks to Minerva for the beautiful fabric and thanks everyone for reading. This blog was orginally posted on the Minerva Website.
If you enjoyed this blog post be sure to subscribe up on the right, you’ll then get not so regular updates from me. It really helps me create great content; I can’t do it without your support.
Thanks for reading
Ruby x


I am way past maternity wear, but this is so perfect! Love your fabric choices and it looks fabulous on you. All the best for you and your baby.
Thanks so much
This dress is lovely. I like the way you have styled it too. Keep blogging – you inspire us! Even if you don’t get comments, people do read.
Thank you, I’m glad people are reading – and its always nice to get a comment here and there
That is a great maternity look. I fell in love with the yellow fabric, too- I turned it into a Sew Over It Libby Shirt. Now I have to say that the reddish colourway looks fab as well.
Its such a lovely jersey, feels very luxurious